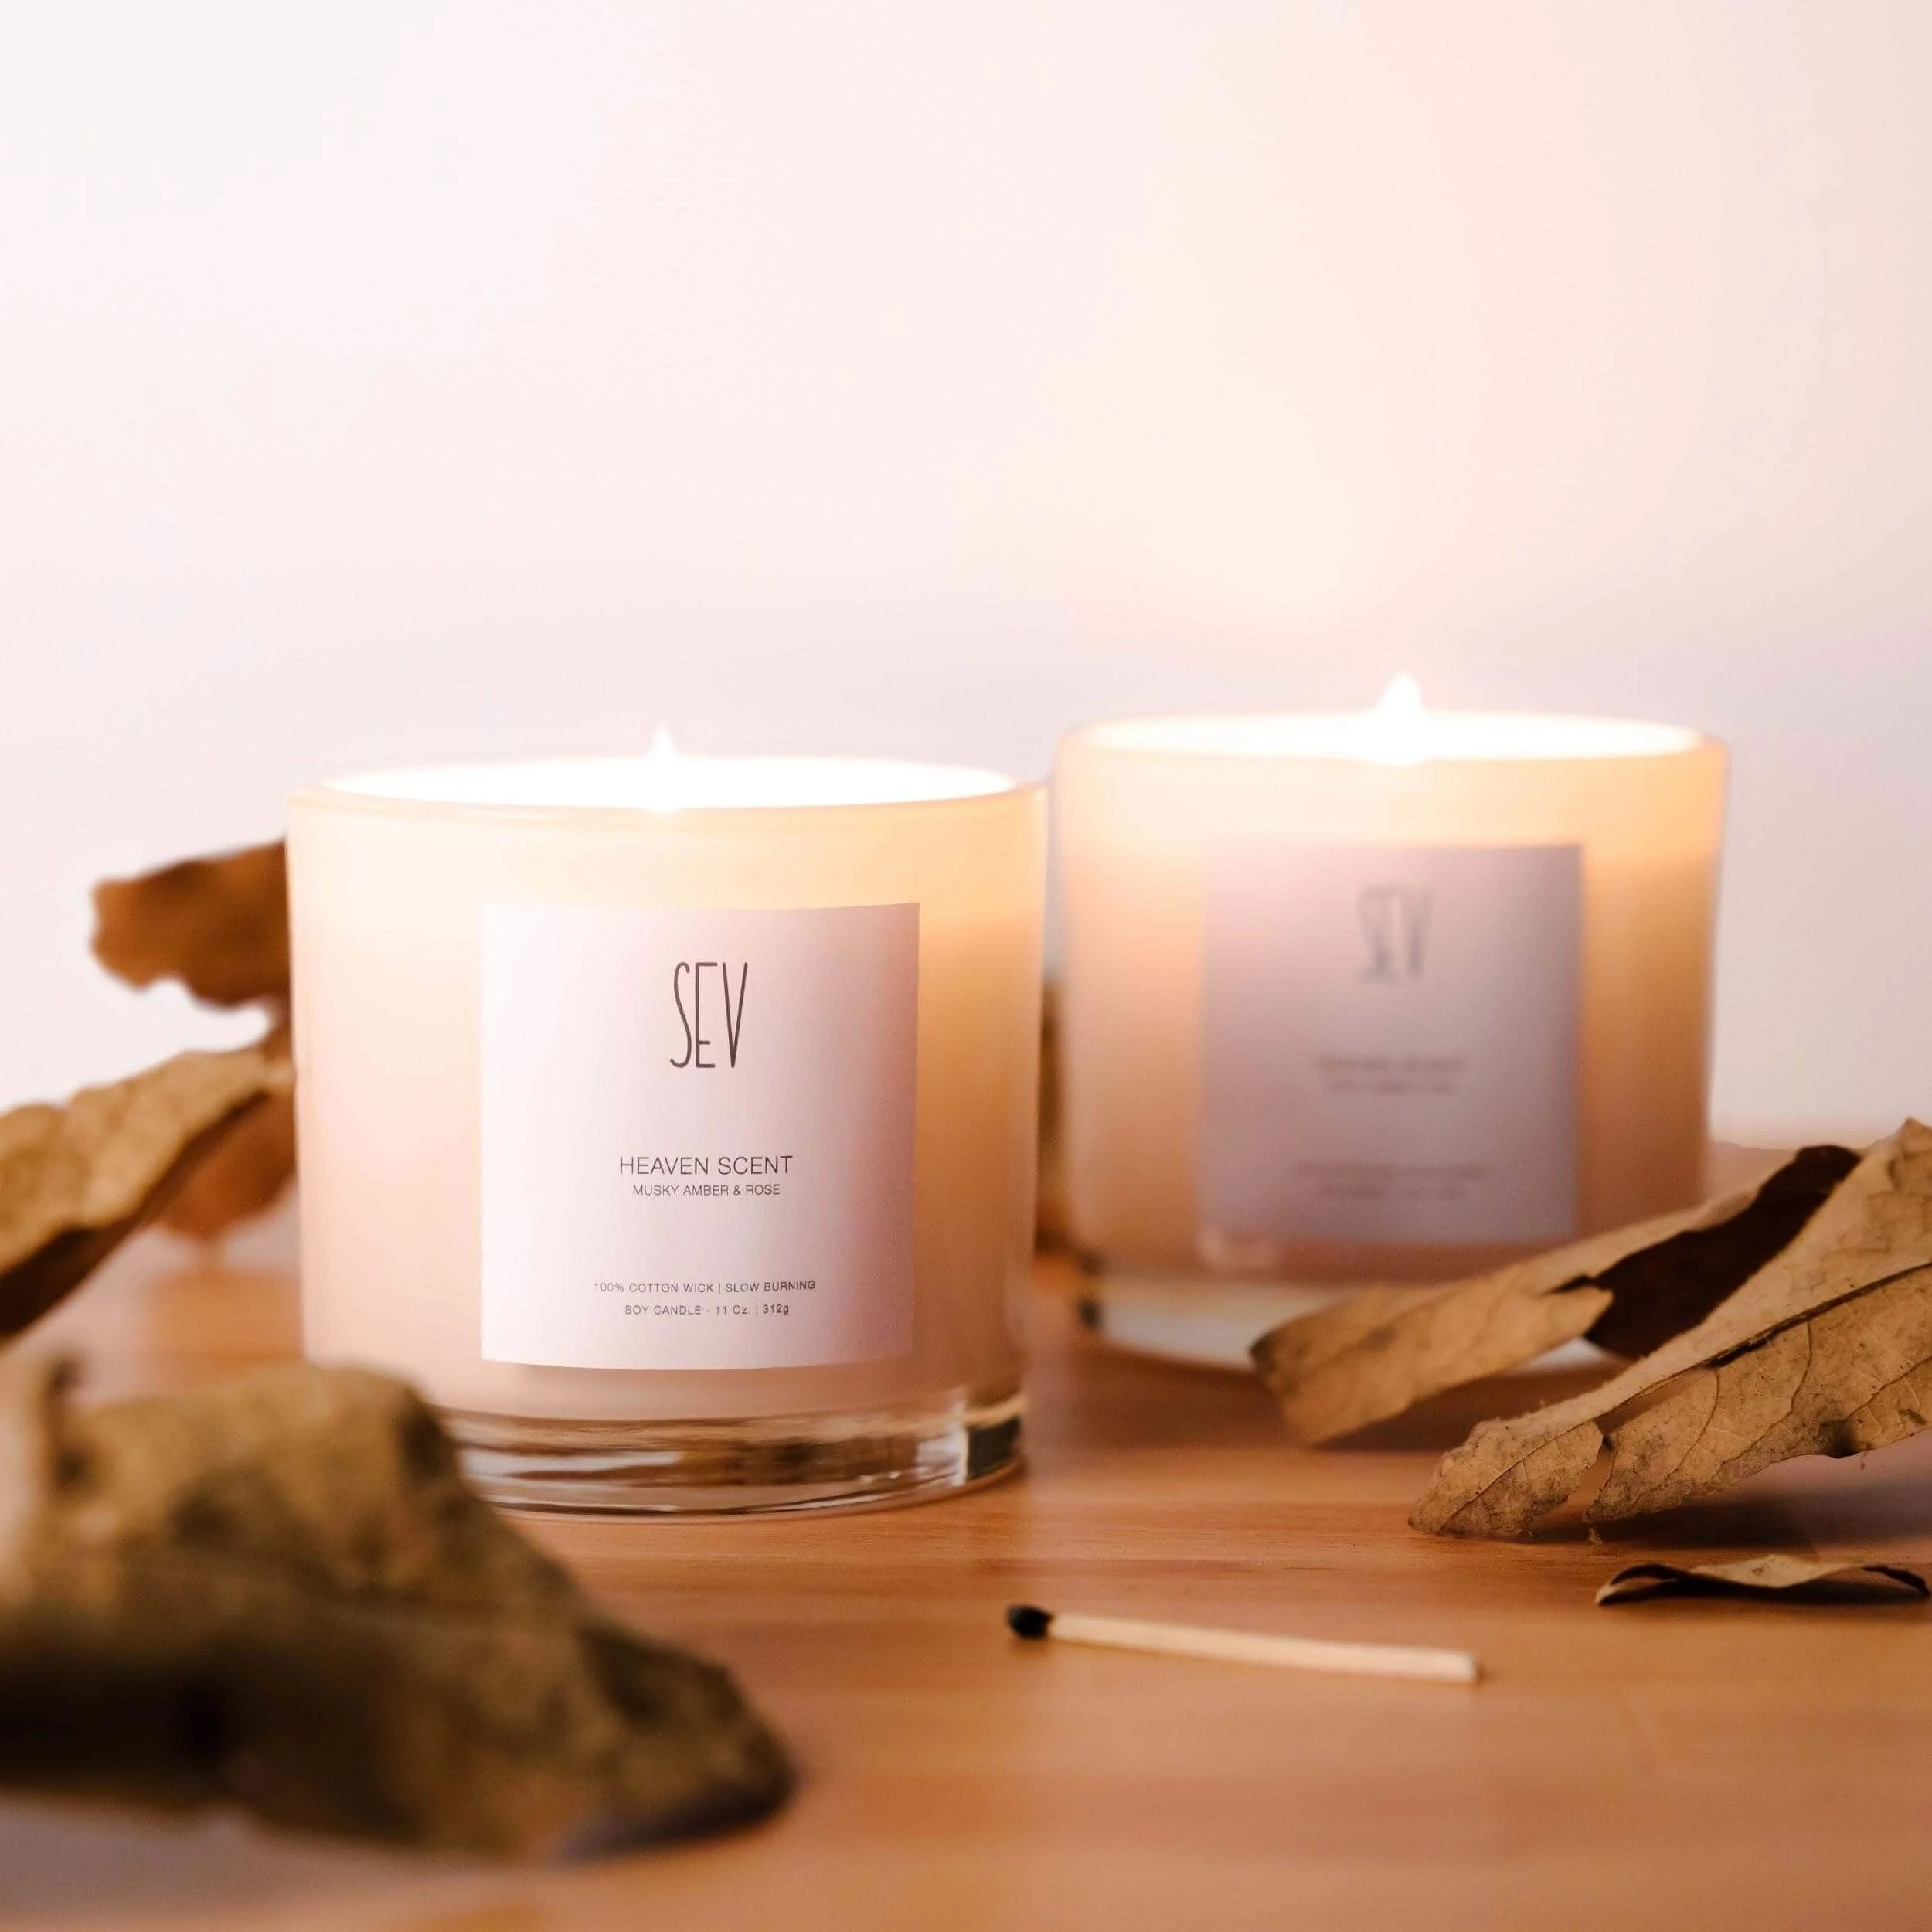
- A step-to-step guide on how to create your very own scented candles at home
- Video tutorial link is given for further explanation
Have you ever wondered why entering a spa immediately puts you in a calmer mood? Other than the tranquil spa music, there must be something else. Perhaps it’s something in the air you breathe in? This ‘something’ is what we call aromatherapy.
Aromatherapy is known to promote relaxation and relieve stress, especially among busy career-driven individuals. Hence the reason why you mostly seek the comforts of a spa to wind down from a long work week.
Lately, most of us spend the majority of our time working from home. Gone were the days we could leave our stress at the office and escape to a stress-free sanctuary we call our homes.
What if we told you there is an easy way to take the spa to your home?
With these DIY aromatherapy candles, you can relax and unwind anytime at home. Try this YouTube tutorial out and recreate your own personalized candles at home.
For those who prefer written instructions, we have summarized the whole tutorial below!
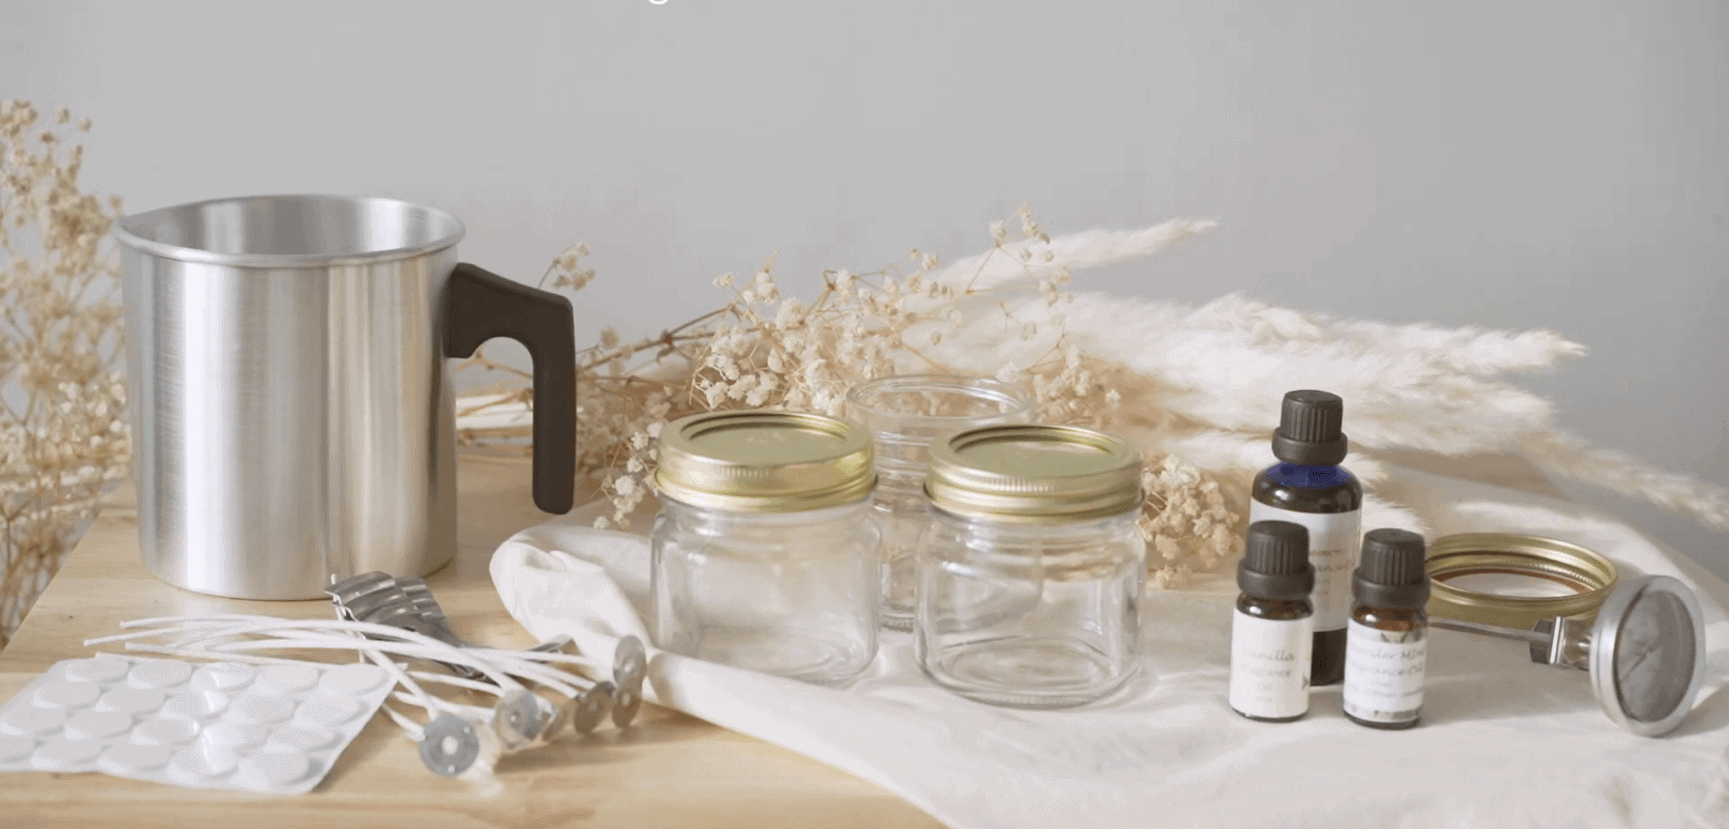
The materials and tools needed are:
- Any heat resistant jar or tin can
- Your favourite essential oils
- A kitchen thermometer or thermometer gun
- Candle wicks
- Wick stickers or superglue or hot glue gun
- Candle melting pot
- Candle wax of your choice (In this tutorial, we recommend soy wax flakes)
For any tools or materials you can’t find around the house, we recommend getting them at Malaysia Clay Art.
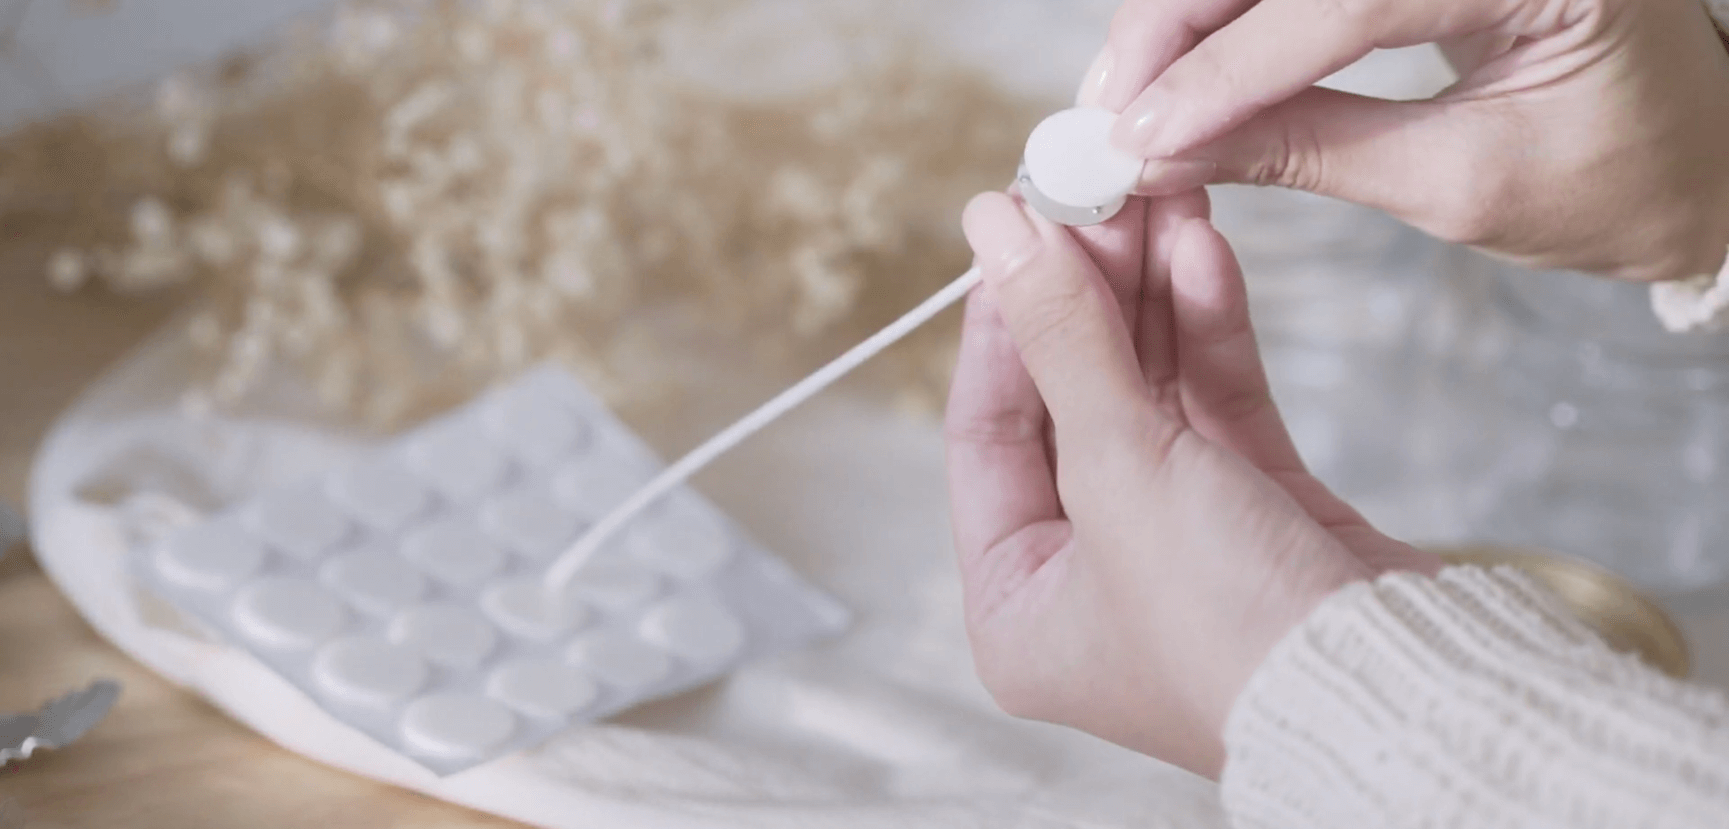
Firstly, attach the wick sticker to the back of the candle wick (or put on the glue of your choice). This step ensures that the candle wick is sticky enough to attach to the bottom of the jar.
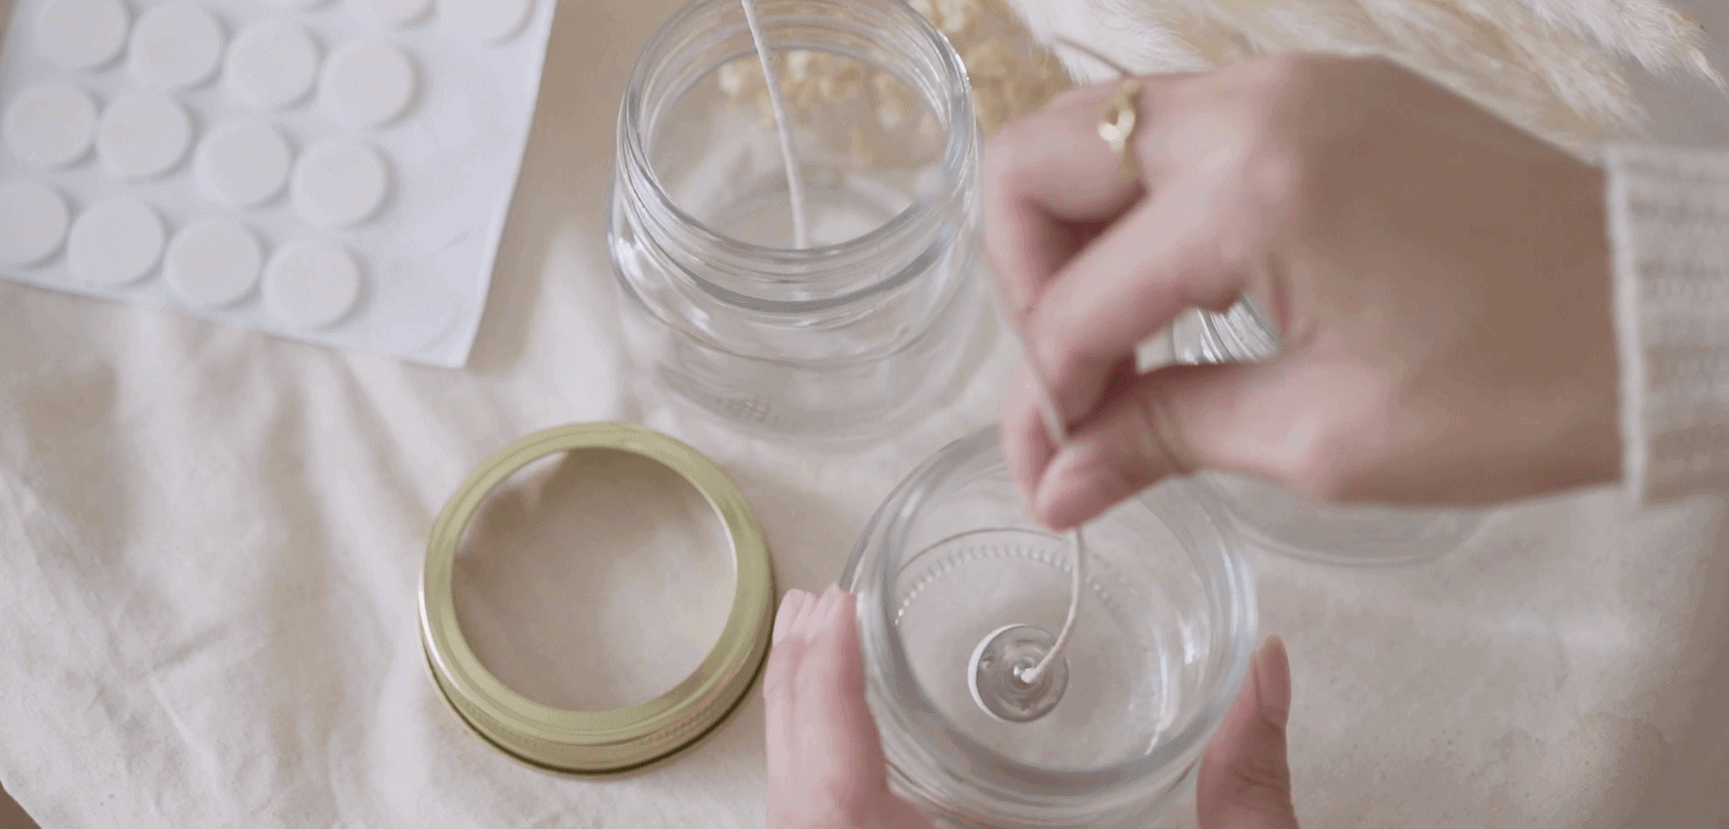
Next, place the candle wick at the bottom of the jar. With that, your jar preparation is done! Easy, right?
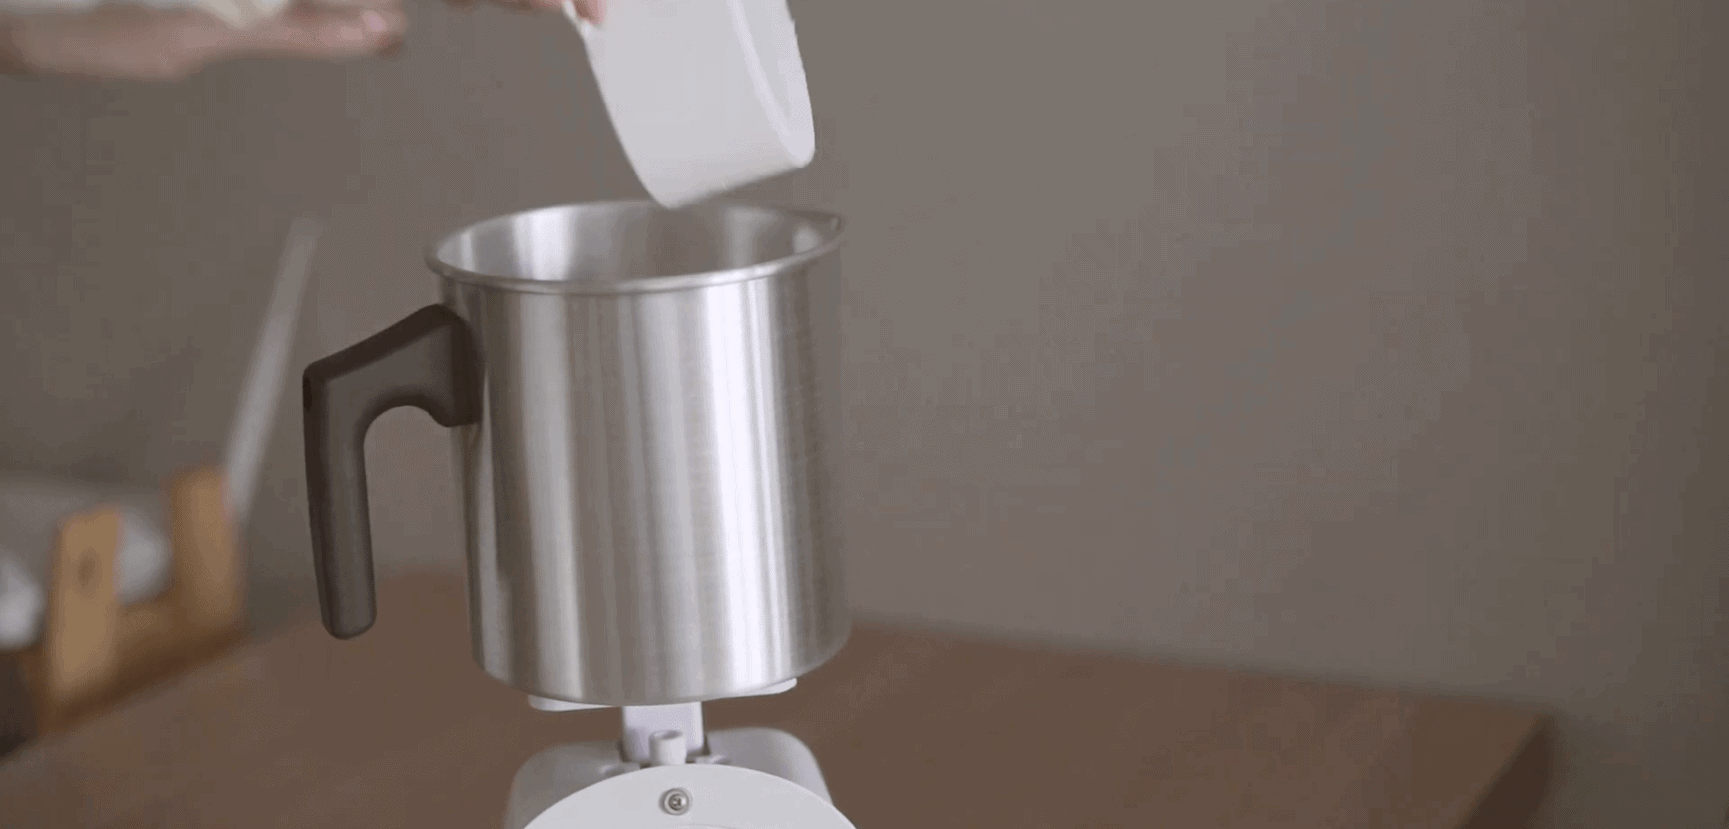
Now, it’s time to prepare the candle wax of your choice. Check out this article by Craftiviti to find out which candle wax is best for you. In this tutorial, soy wax flakes were used.
Estimate how much candle wax is needed to fill up the jar you’re using. Remember, every 1 pound (0.45kg) of wax you use, you’ll need 1 ounce (30ml) of essential oil. Hence, it’s important to weigh and take note of how much candle wax you used.
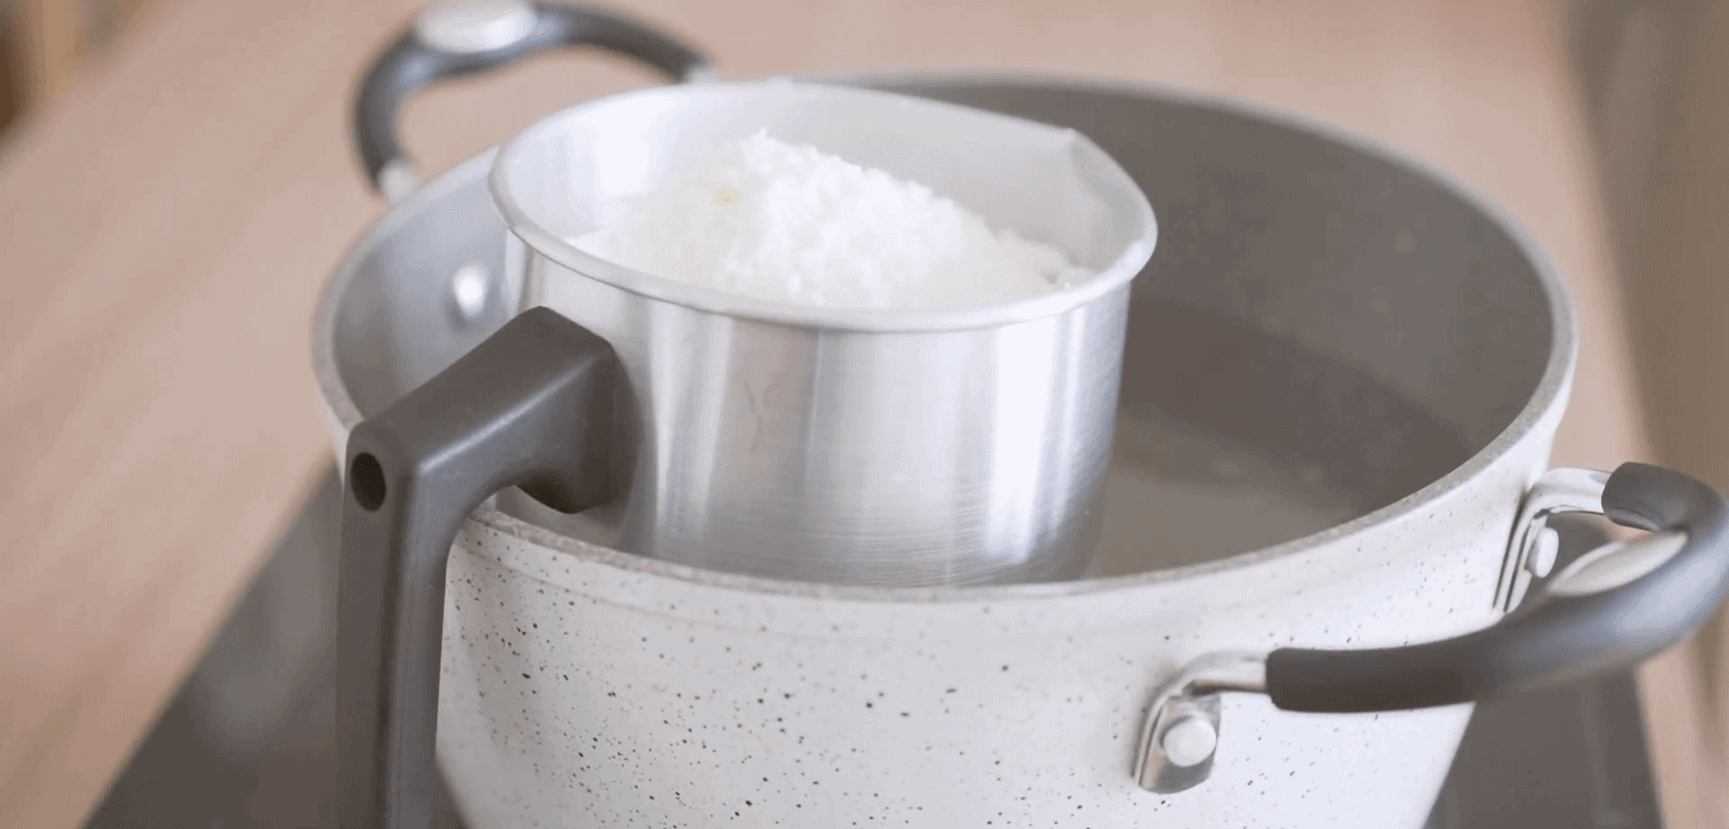
After pouring the wax flakes into your candle melting pot, melt it down with a double boiler.
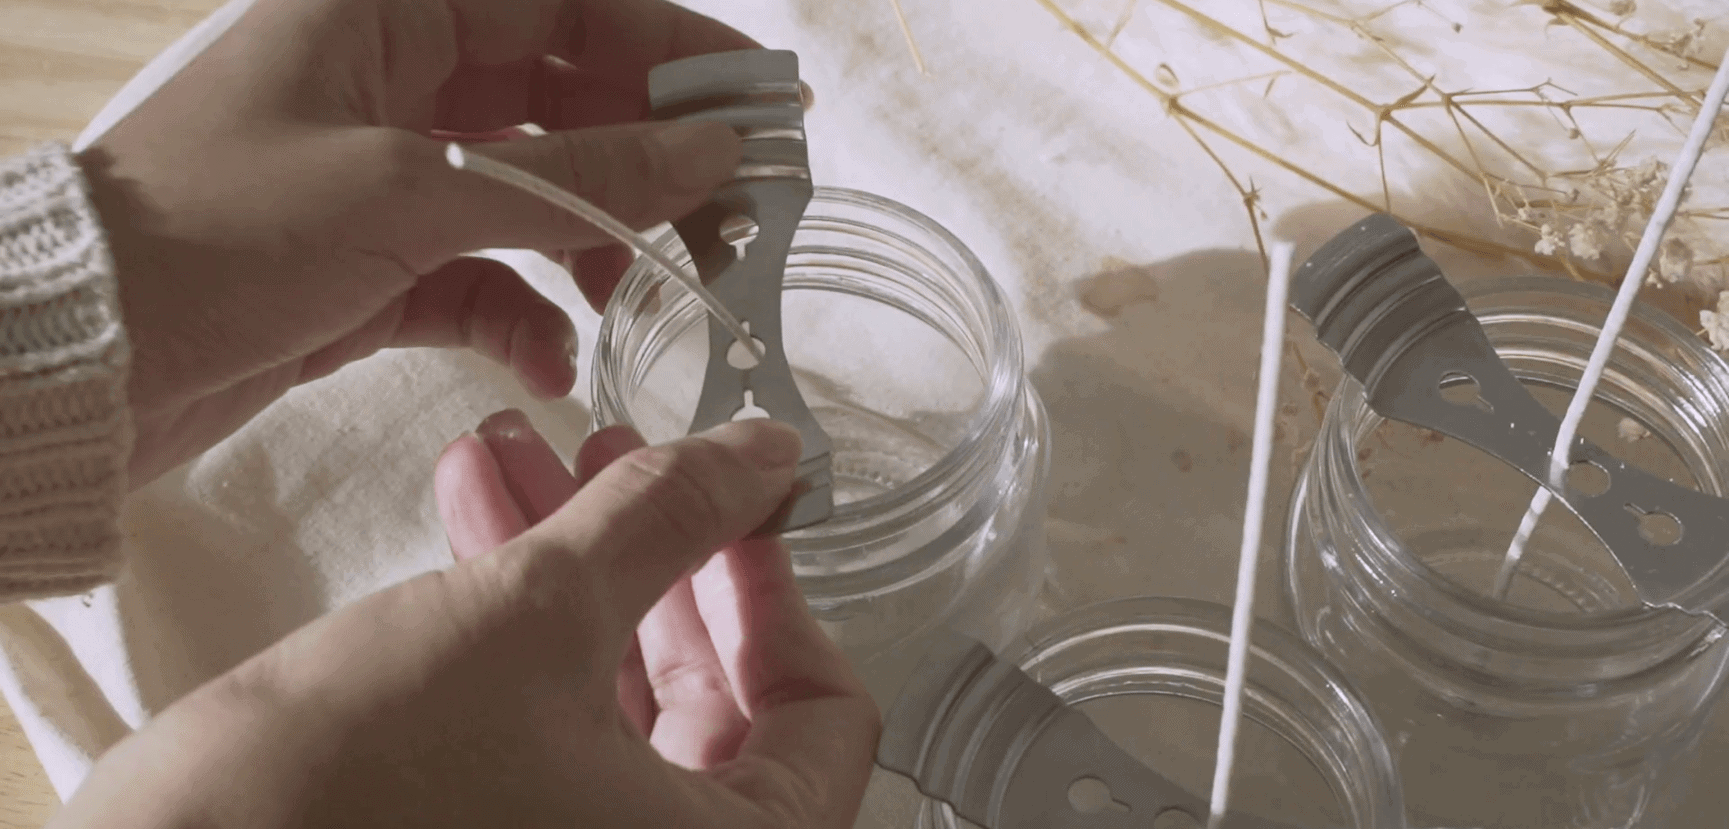
While waiting for the wax to melt, attach the candle wick holder (you can also use a clothespin).
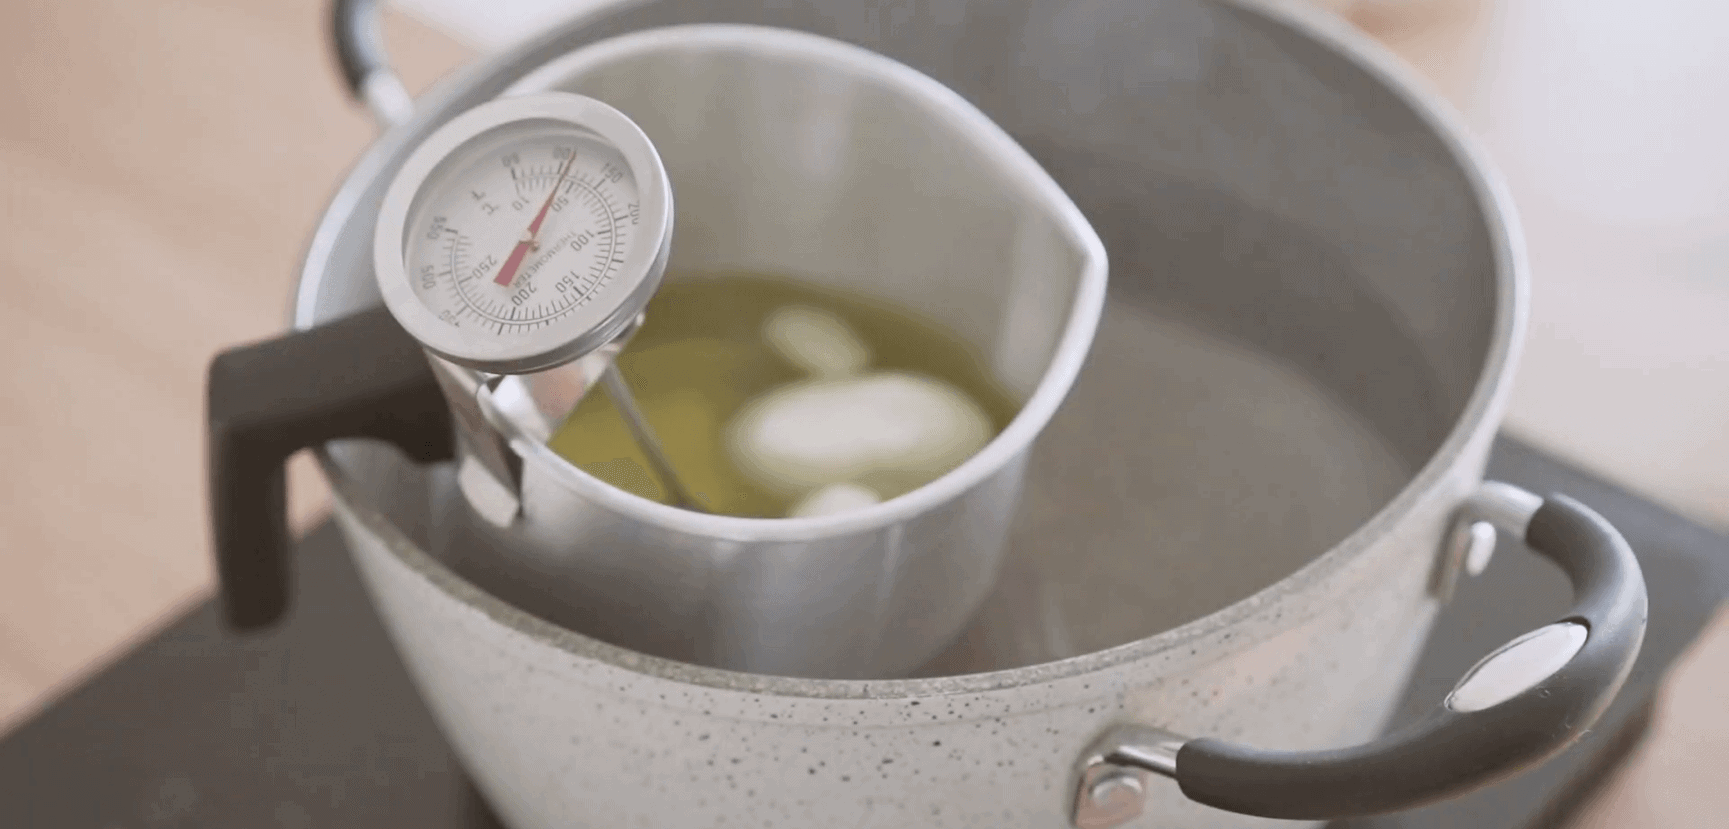
It’s also good to gently stir the wax until it’s melted. Besides that, check the temperature of the wax. It should be around 85°C.
Once it is at 85°C, take it off the heat. Then, stir and let it cool to around 71°C.
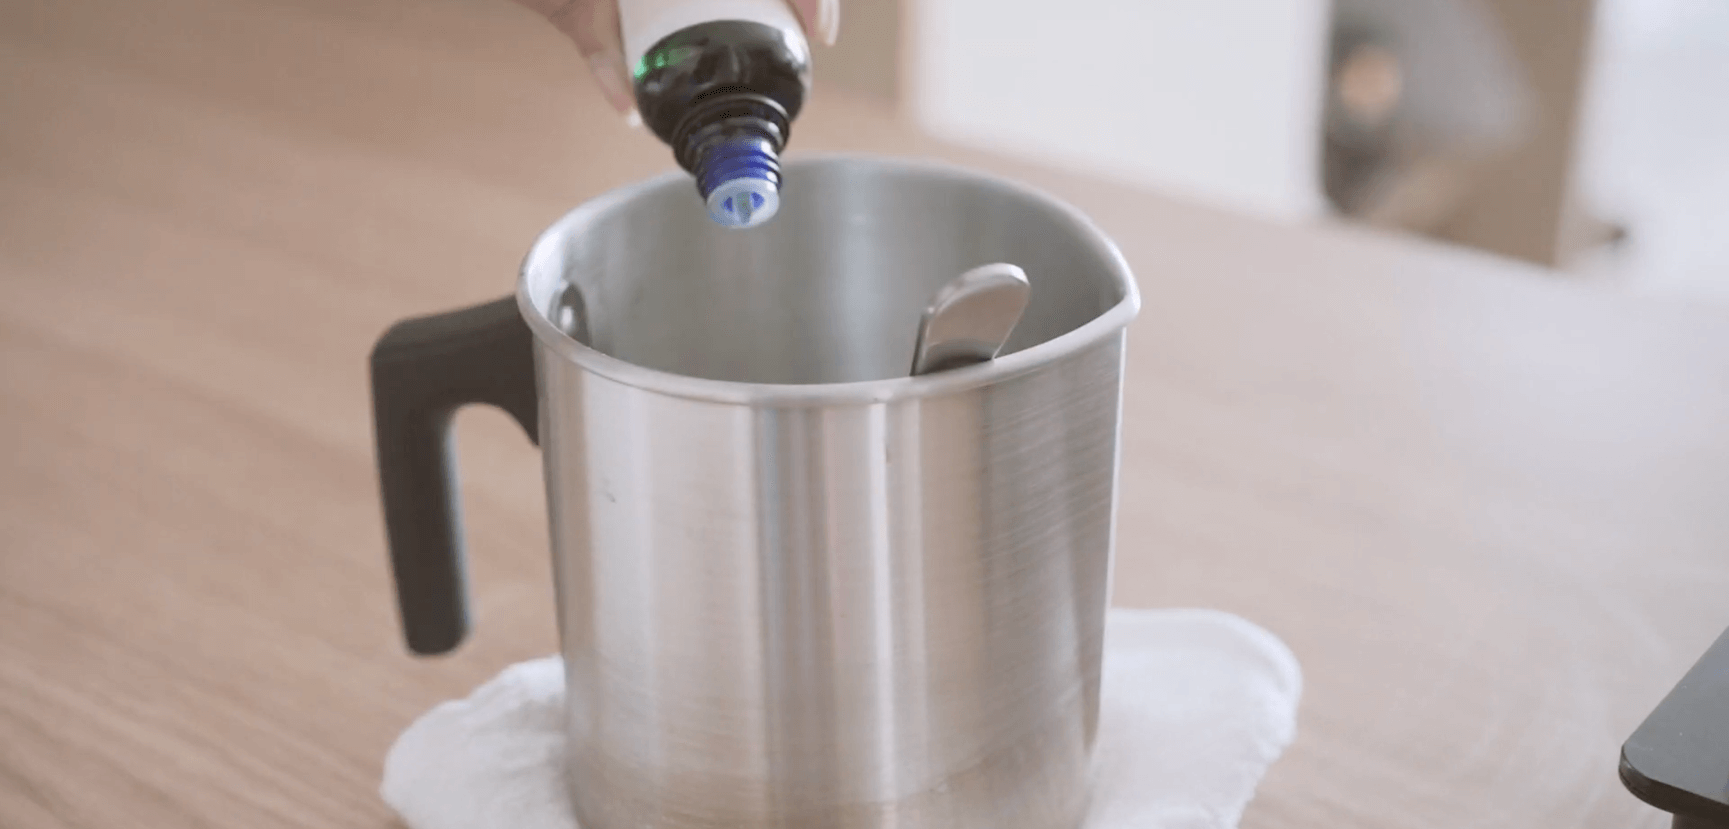
Finally, here comes the fun part! Adding the essential oils of your choice! In this tutorial, we will add 1 ounce of essential oil. Feel free to mix a few different types of essential oils to create your own special scent!
After adding your essential oils, stir and let it cool. In the tutorial, the recommended cooling temperature was around 52°C to 57°C. However, the candle was not the desired smoothness. Hence, we recommend to let it cool to around 38°C to 43°C.
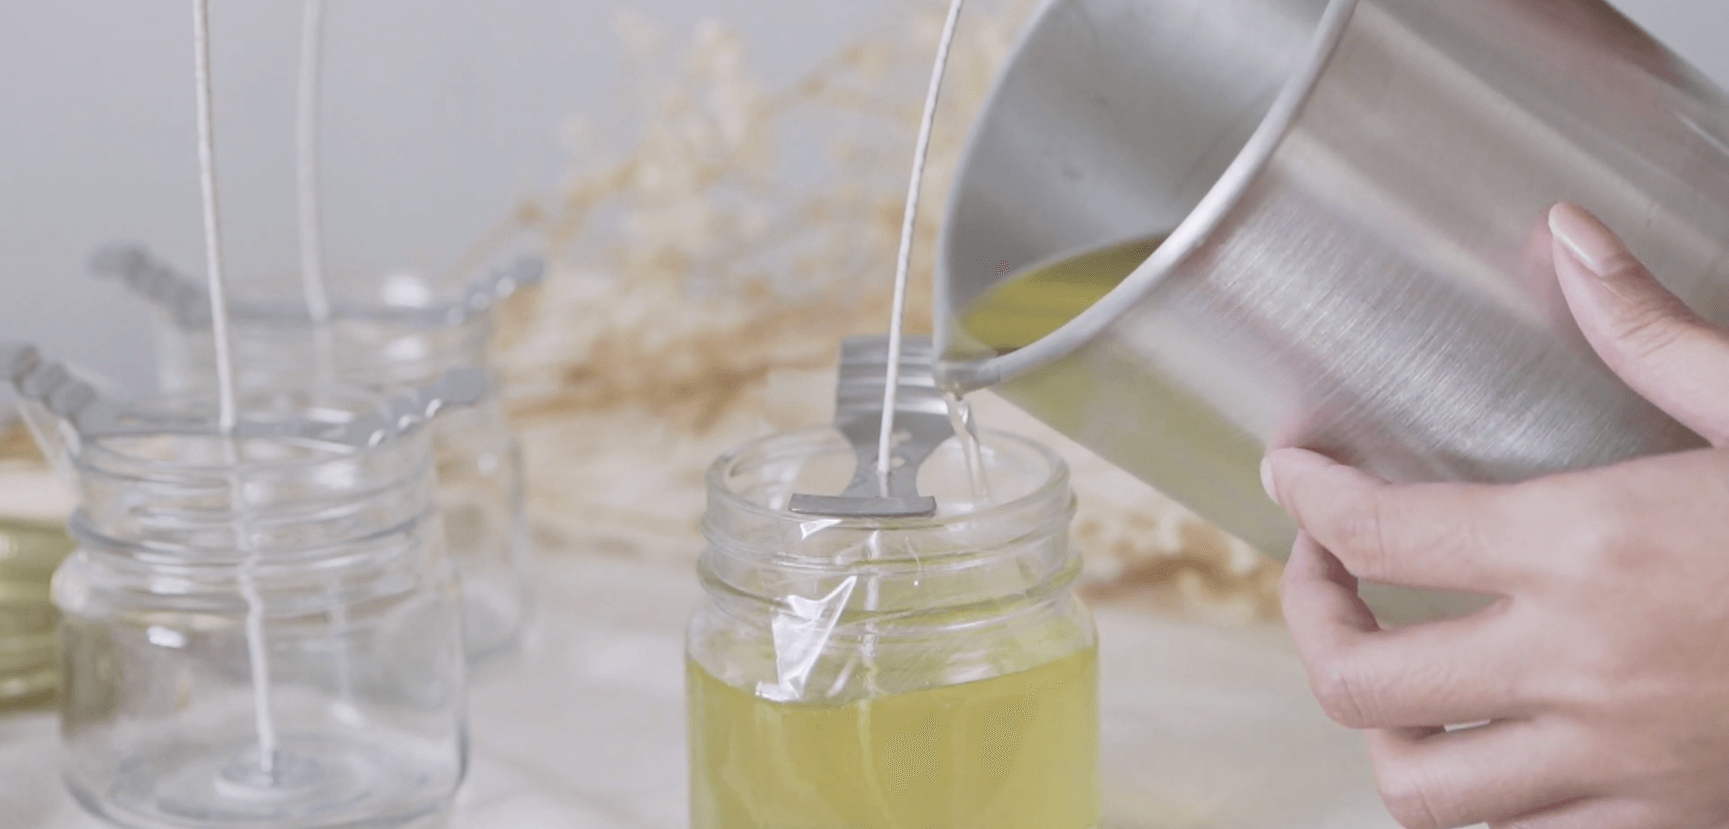
When the wax cools down a little, very slowly pour it into your jar. It’s important to pour as slowly as possible to avoid air bubbles and create the smoothest candle.
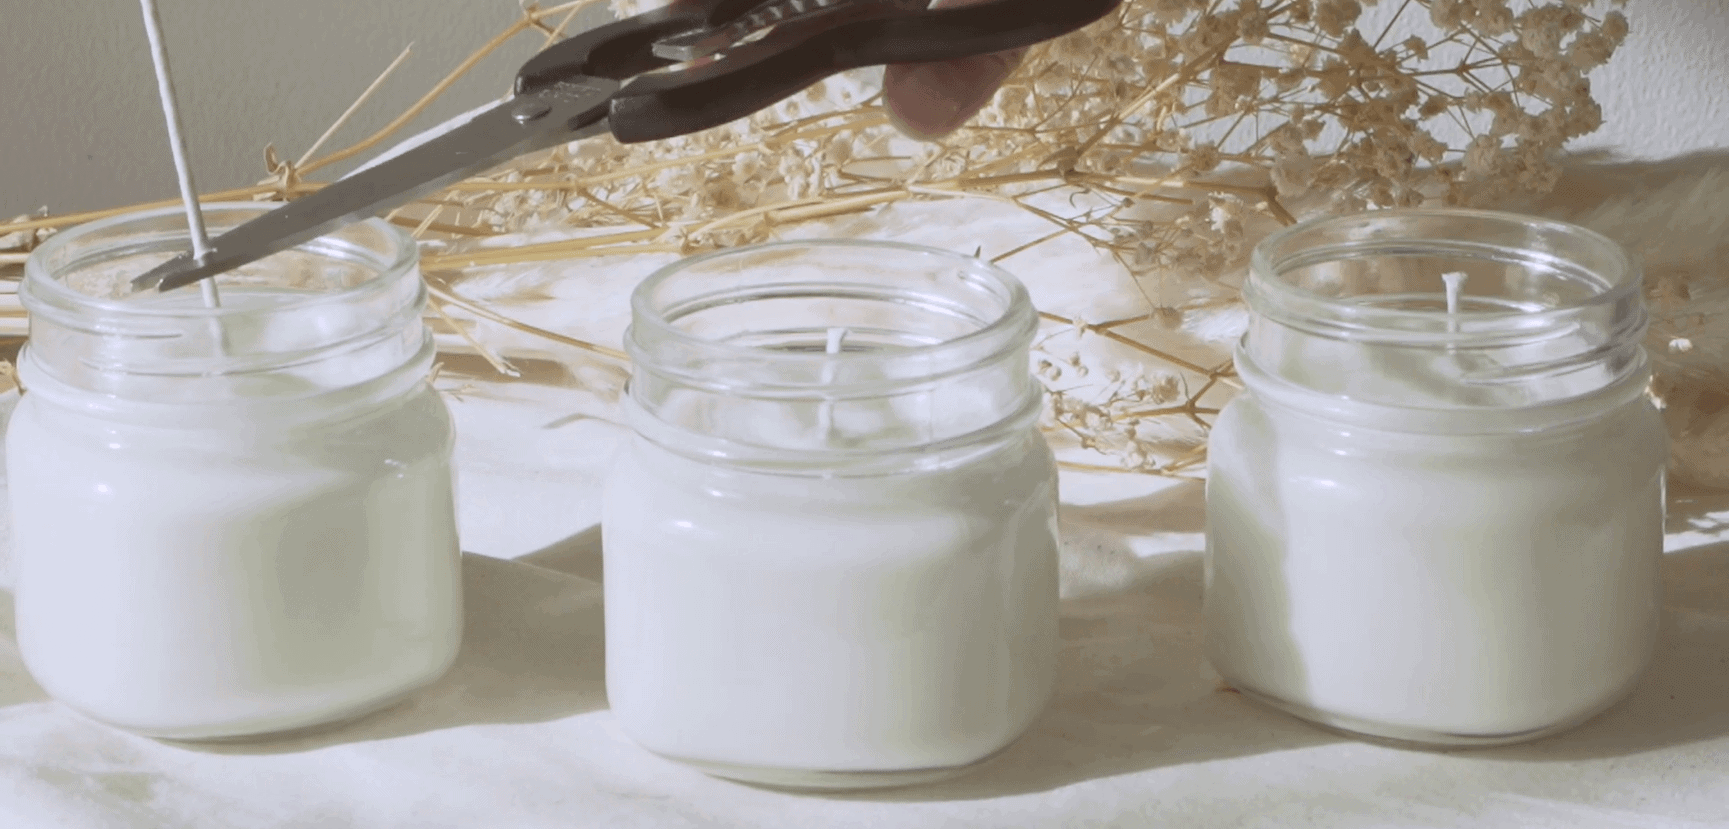
Allow the candle to sit for at least 24 hours to let it set. Finally, cut the excess wick off and there you have it, your custom made candles are done!
We hope this tutorial will be able to inspire you to create your very own candles at home.
Don’t you think it’s a fun little weekend activity? Try it out and tell us what you think at the comment box below!


