- We are not leaving our feline cuties behind for some homemade treats!
- The star of the show: Salmons
- Pull over! I see a chicken rollover
- Someone call Doctor Tuna, my cat needs help!
Welcome, readers! It seems that you’re back to reading part 2 of DIY homemade treats recipes for pets. So, who appears to be the chosen one? It’s furry, four-legged and looks angelic but in truth, is a devil in disguise. Do you want to guess?
Well, only one animal comes to mind for me, cats! Firstly, I’m bad at guessing games, and cats indeed tend to be devils even though they are adorable. Nonetheless, they do deserve treats of their own because we love them!
Like I told you last time, buying food for my cats is expensive—hundreds of Ringgit per month. So let me give you a tip: stop buying pet foods using your money. And not just that, they contain a lot of chemicals that can harm them without you knowing!
So, what is it going to be? Are you ready to read the recipes I collected? Well, chop-chop! It’s time to make some treats! Here are 3 DIY homemade recipes for cat treats.
1/ Homemade Cat Treats

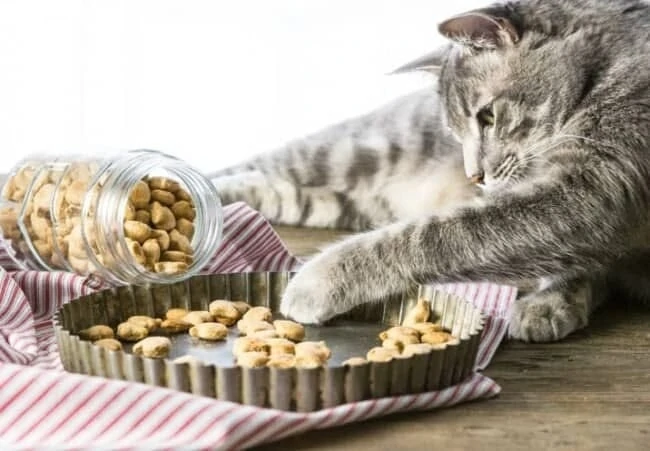
I have to start this article by welcoming the star of the show: salmon. What about this fish? They are not just healthy, but cats are crazy about it—especially mine. However, some canned salmon contain high sodium, which is unhealthy, so watch out.
You only need 3 ingredients:
- 1 undrained canned salmon
- 1 egg (Beaten)
- 2 cups of flour
First things first, you place the undrained canned salmon in the food processor. You then mix the now chopped salmon with the remaining ingredients in the mixer until it forms a dough; the consistency should be tacky.
Roll them about 1/4 inch thick on a floured surface and cut into any shapes you desire! Well, I’ll probably make a cat shape to follow the theme. After that, you bake them until lightly browned and crispy for 20 minutes at 350° degrees Fahrenheit and voila! Let them cool down for a moment before serving. You can even feed them this for up to 2 weeks when stored in an air-tight container.
2/ Chicken Rollovers

This chicken ingredient recipe will roll over their minds! Get it? Because it’s Chicken Rollovers?… Nevermind. Well, not just that, with those parsleys, it’ll give them an exquisite taste, you know?
You only need 3 ingredients:
- 1/2 cup of ground chicken
- 1/3 cup of oat flour
- 1 teaspoon of parsley, minced
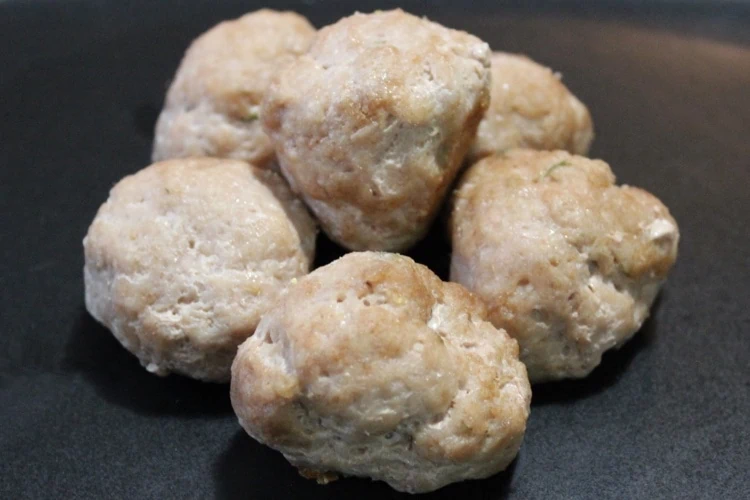
This recipe is a pretty easy one. You just take everything and mix them in a mixing bowl! But of course, you wouldn’t want to serve it just like that to your furry cuties, right? You have to roll them about 1/2 inch balls and place them on a baking sheet before baking them for 12-15 minutes at 350° degrees Fahrenheit. Then sprinkle some minced parsley into the mix. You’re done!
3/ Tuna Bite Treats For A Sensitive Tummy

Why go to a veterinarian when you got this recipe from Catvills! And coincidentally, the author was talking about her cat experiencing constipation. My cat had a few too to give a short story—how did I handle it? You don’t want to know. It’s traumatising…but hey! Good thing I found this recipe! Take note of this, you’ll thank me when it happens.
You only need 4 ingredients:
- 1 can of mercury-free tuna in oil
- 3/4 cup of coconut flour
- 1/2 cup of whole wheat flour
- 1 Egg
First, blend tuna and eggs in the food processor before mixing them together with flour. The next step will be messy for you folks! Use your hands and knead the dough until soft. Then fold it in half before separating them into smaller ones.
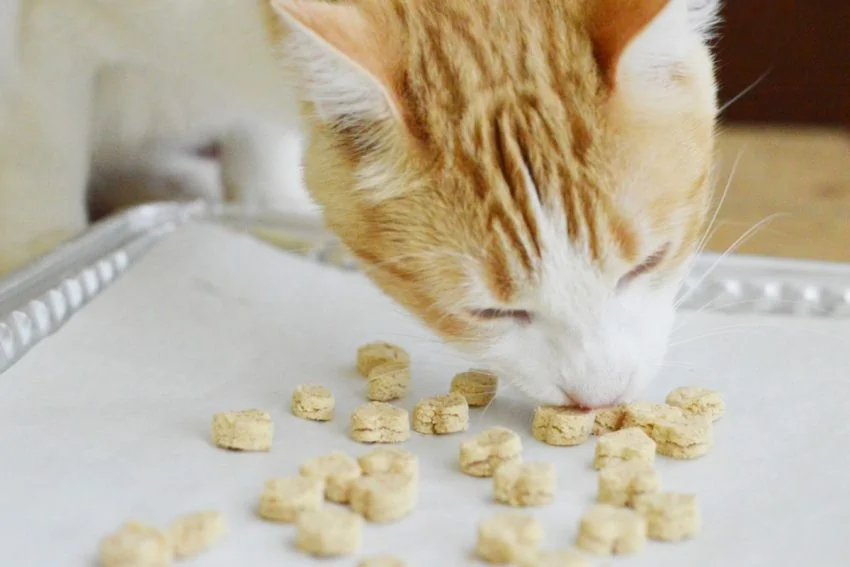
Sprinkle a flat surface or your table with flour, and flatten the dough using a rolling pin about 1/4 inch thick, in small short rolling motions. The smaller the treats, the easier it is for your cats to swallow everything inside their mouth, am I right? This is suitable for my cats who are heavy eaters (Now you know where my money went).
When that’s done, you can place a baking sheet with parchment paper and put the treats on it. Ah! Before I forget, cut the dough using a cookie cutter to any shape. Before heating these babies up, you need to preheat your oven first, no?
So, preheat it to 330 degrees Fahrenheit, and wait. But listen, anything can happen to the treats, especially when those furry brats get impatient. You must not put your guard down. The treats-making must go on! But the moment you fall for their cuteness, you can probably say bye-bye to those treats. Suppose you passed the test, congratulations! Then, you can proceed to heat the treats for 15 minutes or until hard. They are finally ready to be served to your cats!
Show love to your cats
Though I said they are devils in disguise, my life wouldn’t be as fun without them. You are probably thinking the same thing too. They offer unconditional love that I won’t change for anything.
But, it would be better if they pay some rent and compensate for the damage they cause to the cushions, broken vase and other things that the other owners would know. But their cuteness counts, right? Treats it is then!


