- Bland walls begone! Craft a space that speaks volumes with these creative DIY décor projects.
Does your living space feel a little generic? Like the walls are bare, or the furniture lacks personality? If you’re craving a home that reflects your unique style and makes you feel inspired, look no further than the world of DIY (Do-It-Yourself) projects!
The beauty of DIY is that it’s accessible to everyone, regardless of skill level or budget. With a little creativity and some readily available materials, you can transform your living space into a haven that speaks volumes about who you are.
This article will introduce you to five creative DIY projects perfect for adding a touch of personality and functionality to your home.
We’ll cover everything from creating a warm and inviting ambience with candle luminaries to showcasing your artistic flair with fabric wall hangings. So, grab your favourite crafting tools, unleash your inner designer, and get ready to embark on this exciting DIY adventure!
1/ Candle Luminaries
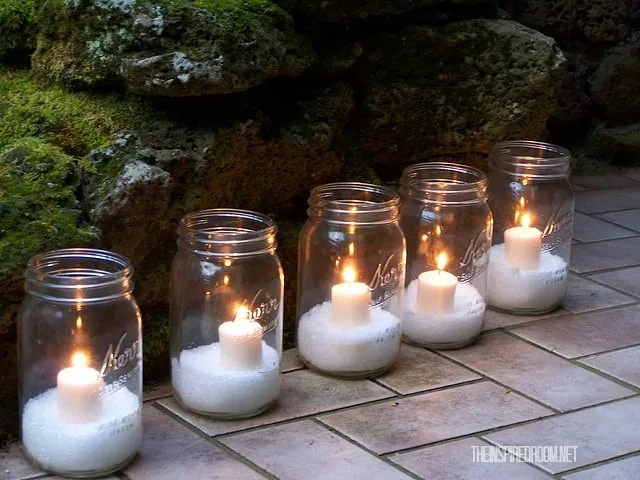
Ever wanted to step into your living room after a long day and be greeted by a warm, inviting glow? Candle luminaries can help you achieve this dreamy atmosphere. These delightful DIY creations transform everyday objects into mesmerising centrepieces, casting a soft, flickering light that instantly elevates the mood.
Step 1: Choose Your Containers
Mason jars are a classic choice, but you can get creative and use anything from vintage teacups to decorative bottles. Gather jars in various sizes and shapes.
Step 2: Clean Your Containers
Thoroughly clean your jars to remove any dust or debris. This ensures a smooth surface for decorating.
Step 3: Decorate Your Containers
This is where you can personalise your luminaries:
- Rustic Charm: Wrap the jars with twine or lace.
- Glamorous Touch: Paint them in your favourite colours or metallic hues.
- Unique Designs: Add stencils or decoupage for intricate patterns.
Step 4: Insert the Candles
Place small candles or tea lights inside the decorated jars. Make sure the candles fit securely.
Step 5: Arrange and Enjoy
Arrange your candle luminaries around your living space. Light the candles to create a warm, inviting ambience.
No matter your style, there’s a way to create candle luminaries that complement your existing décor and create a cosy, welcoming atmosphere in your home.
2/ Fabric Wall Hangings
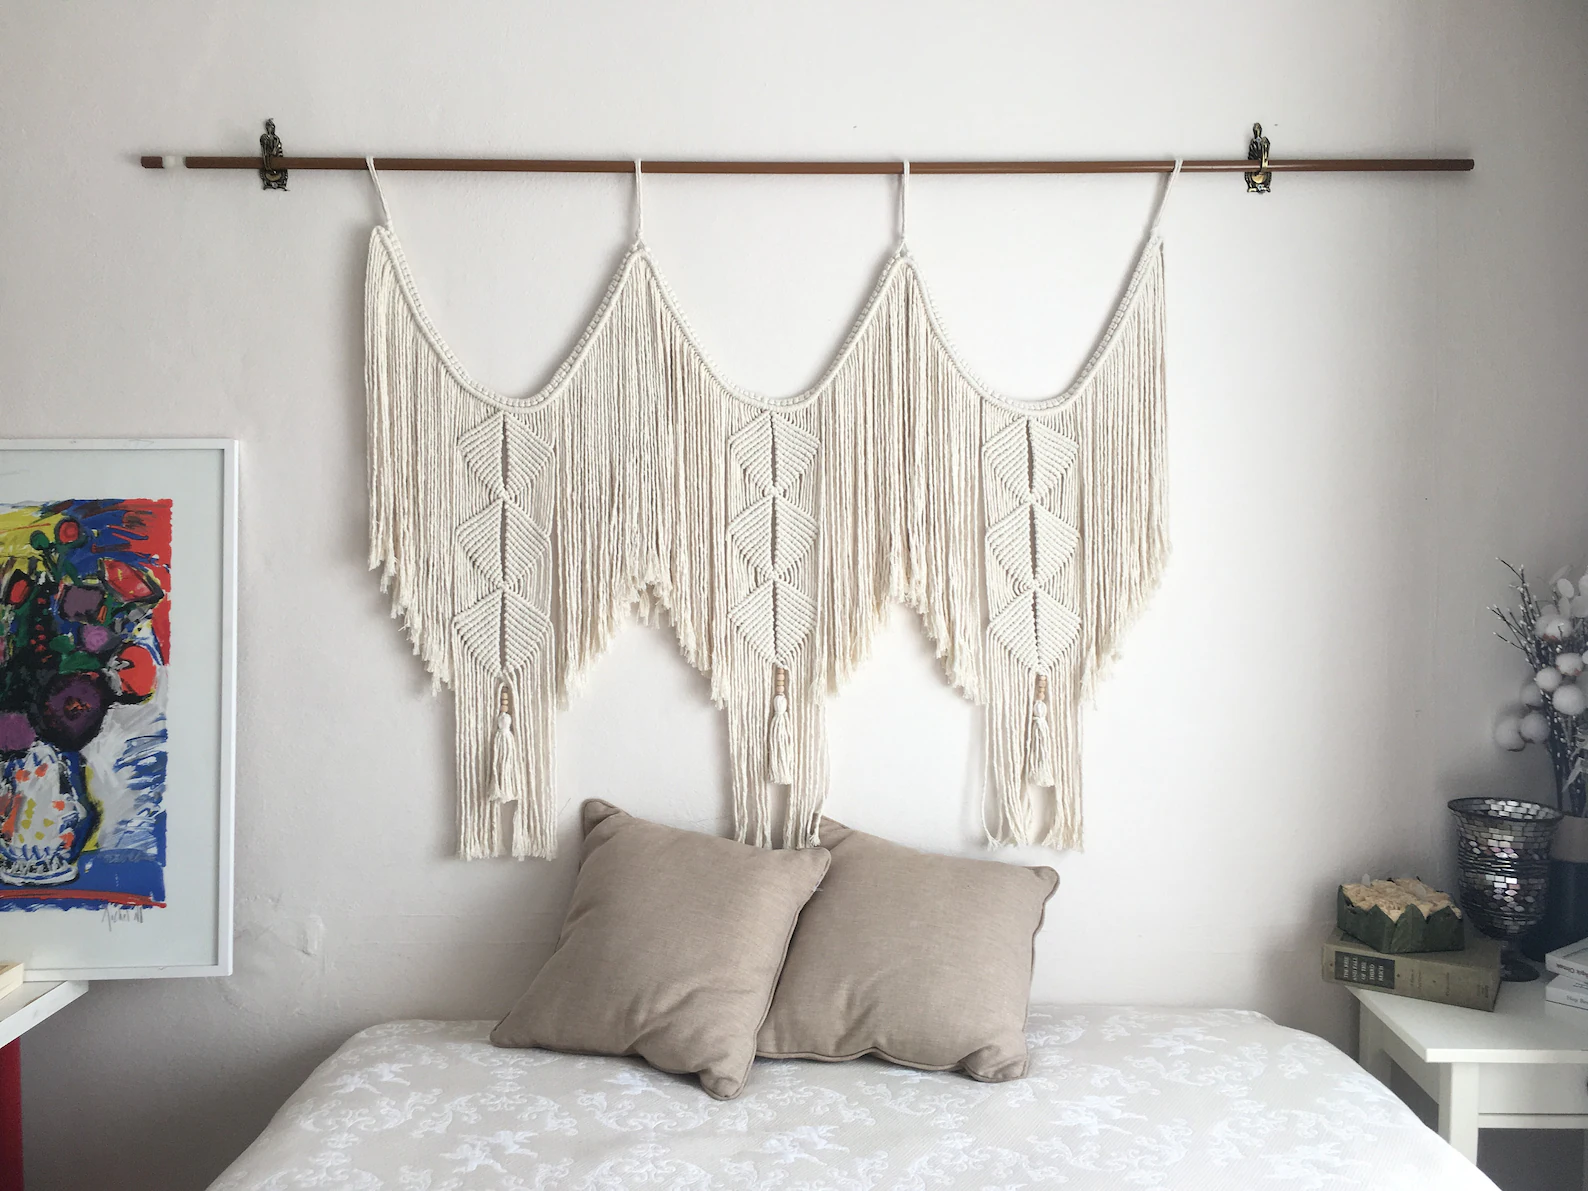
Gone are the days of staring at bare, lifeless walls. Fabric wall hangings offer a vibrant alternative, transforming your space into a canvas for your unique style.
Step 1: Choose Your Fabric
Decide what kind of fabric you want to use. Old bedsheets, colourful fabrics, ribbons, or yarn are all great options. Gather your materials.
Step 2: Cut Your Fabric
Cut the fabric into strips, squares, or other shapes depending on your design. For example:
- Weaving: Use strips of fabric.
- Tapestries: Cut larger pieces into desired shapes.
- Macrame: Use long strands of fabric or rope.
Step 3: Plan Your Design
Think about the look you want to achieve:
- Tapestry: Plan a geometric or floral pattern.
- Macrame: Decide on the knots and design you want to create.
Step 4: Start Crafting
Begin creating your wall hanging based on your chosen style:
- Weaving: Weave fabric strips through a frame or loom.
- Tapestry: Sew your shapes together into a cohesive design.
- Macrame: Use simple knots to create your design, hanging strands from a wooden dowel or branch.
Step 5: Add Finishing Touches
Incorporate additional elements for texture and colour:
- Ribbons: Weave or tie them into your design.
- Yarn: Add for extra texture.
- Beads or Buttons: Sew or tie them on for embellishment.
Step 6: Hang Your Creation
Find the perfect spot on your wall and hang your fabric masterpiece. To display it, use nails, hooks, or a rod.
Fabric wall hangings are accessible and customisable, allowing you to infuse your space with warmth and personality. Whether you prefer intricate tapestries or relaxed macrame, there’s a style for everyone. Get creative and enjoy transforming your walls into works of art!
3/ DIY Coasters
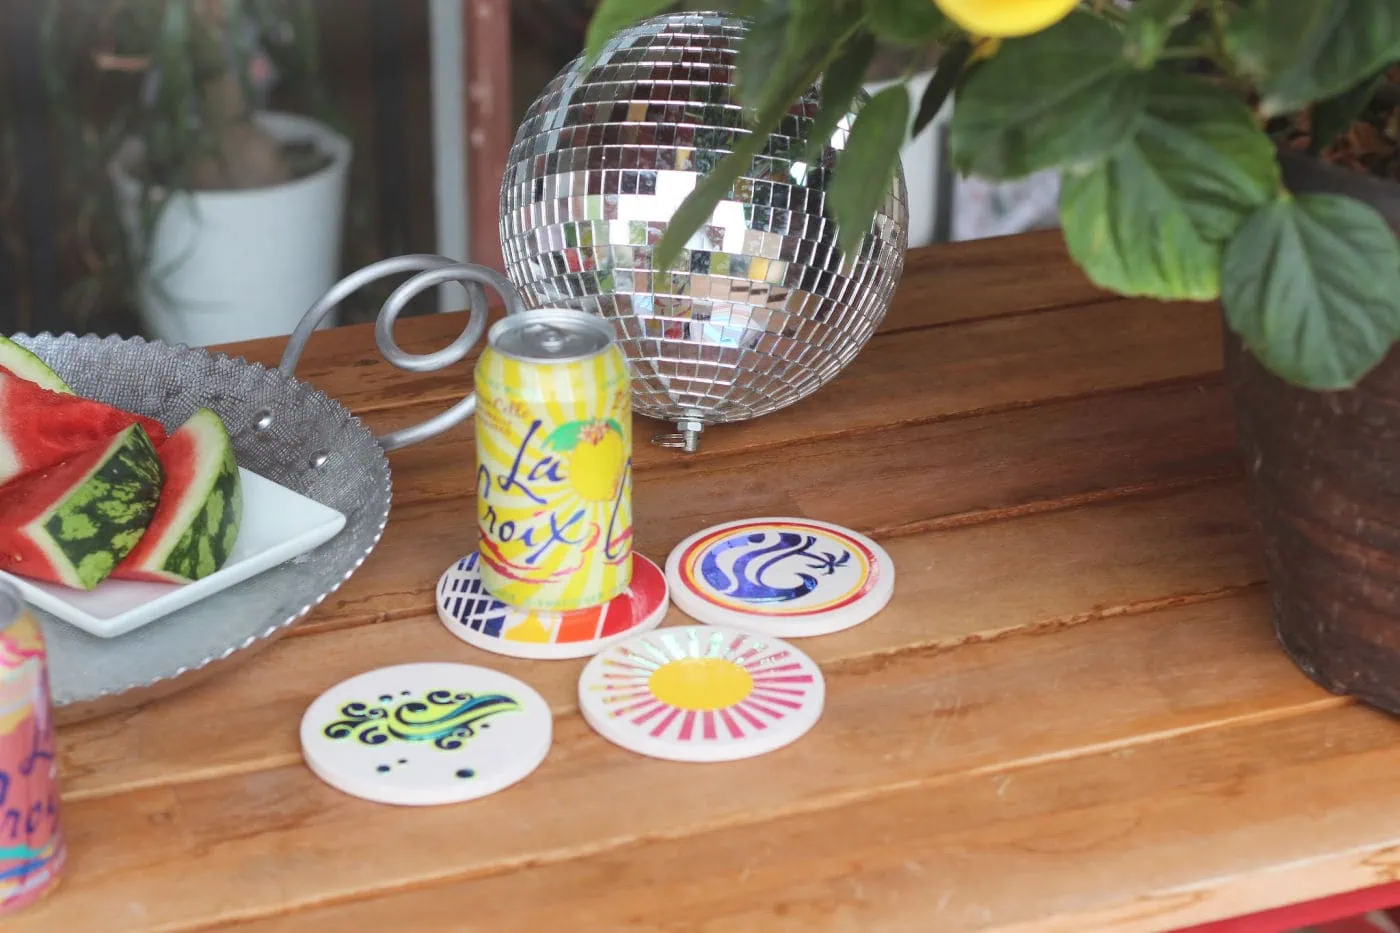
Every sip of coffee or clink of a glass deserves a stylish landing pad. DIY coasters are the perfect blend of practicality and personality, allowing you to create unique pieces that reflect your taste and add charm to your coffee table.
Step 1: Gather Your Materials
Collect the materials you’ll need:
- Base Materials: Corkboard squares, felt scraps, old coasters, fabric, wood slices, or recycled records.
- Decorating Supplies: Paint, stencils, decoupage glue, and decorative paper or fabric.
- Backing Material: Cork sheets for added functionality.
Step 2: Prepare Your Base
Choose your base material and cut it into your desired shape if needed:
- Corkboard or Felt: Cut into squares, circles, or any shape you like.
- Wood Slices or Records: Use as they are or trim to size.
Step 3: Decorate Your Coasters
Get creative with your decorations:
- Paint: Apply a base coat, then use stencils or freehand designs.
- Decoupage: Glue decorative paper or fabric onto the base, smoothing out any bubbles.
- Fabric: Cut fabric to size and adhere it to the base with fabric glue.
Step 4: Add a Cork Backing
For extra functionality, attach a cork backing to your coasters:
- Cut Cork: Cut cork sheets to match the shape and size of your coasters.
- Glue: Use strong adhesive to attach the cork to the bottom of each coaster.
Step 5: Let It Dry
Allow your coasters to dry completely before using them. This ensures all decorations and adhesives are set and secure.
Step 6: Enjoy Your New Coasters
Place your new coasters on your coffee table and enjoy their practicality and personalised charm.
No matter what materials you choose, these DIY coasters will protect your furniture while adding a unique touch to your home. Get creative and have fun crafting pieces that tell your story!
4/ Herb Garden in a Mug
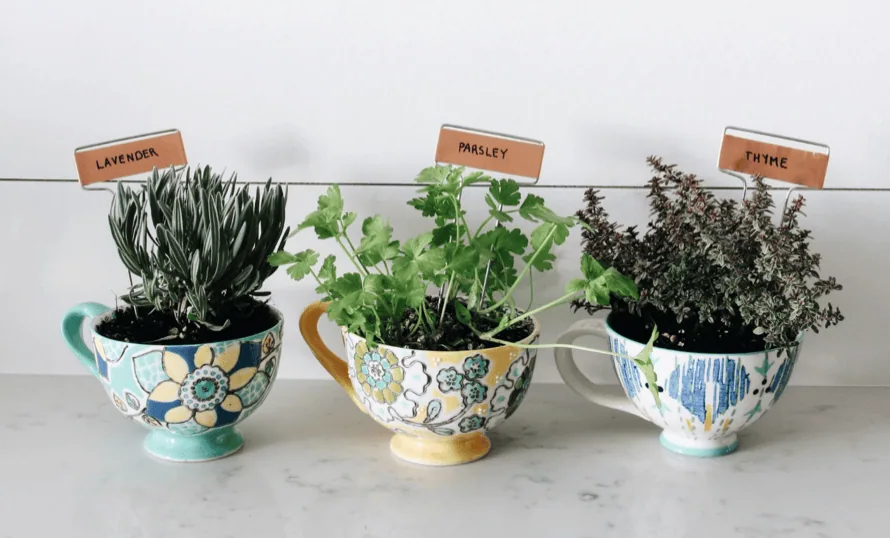
Fresh herbs add a touch of magic to any dish, but maintaining a large herb garden isn’t always an option, especially in small spaces. Mug herb gardens offer a charming and convenient solution, letting you enjoy fresh herbs right on your windowsill. Here’s how to get started:
Step 1: Gather Your Supplies
You’ll need:
- Cute mugs or terracotta pots
- Potting soil
- Pebbles for drainage
- Your favourite herb seeds or small herb plants
Step 2: Choose a Sunny Spot
Find a sunny windowsill in your kitchen. Herbs love sunlight, so a bright spot is essential.
Step 3: Prepare Your Mugs
1/ Drainage Layer: Place a layer of pebbles at the bottom of each mug. This helps prevent root rot by allowing excess water to drain.
2/ Add Soil: Fill the mug with potting soil, leaving about half an inch of space at the top.
Step 4: Plant Your Herbs
You have two options: seeds or small plants.
Using Seeds:
1/ Sprinkle Seeds: Gently sprinkle the seeds on top of the soil.
2/ Cover with Soil: Add a thin layer of potting soil over the seeds.
3/ Water Lightly: Keep the soil moist until the seeds germinate.
Using Small Plants:
1/ Plant Herbs: Place the small herb plants into the soil.
2/ Firm the Soil: Press the soil gently around the plants to secure them in place.
3/ Water Lightly: Give the plants a light watering.
Step 5: Choose Suitable Herbs
Pick herbs that stay relatively small, such as:
- Parsley
- Chives
- Mint
- Basil
Step 6: Care for Your Herb Garden
1/ Water Regularly: Keep the soil moist but not waterlogged.
2/ Trim as Needed: Snip fresh herbs as needed for cooking. Regular trimming encourages healthy growth.
Step 7: Enjoy and Impress
Your mug herb garden will not only provide fresh herbs for your culinary creations but also add a touch of greenery and charm to your kitchen. It’s a delightful conversation starter that’s sure to impress your guests.
With these simple steps, you can create a mini herb oasis right on your windowsill, bringing flavour and life into your home.
5/ Vintage Photo Frame Collages
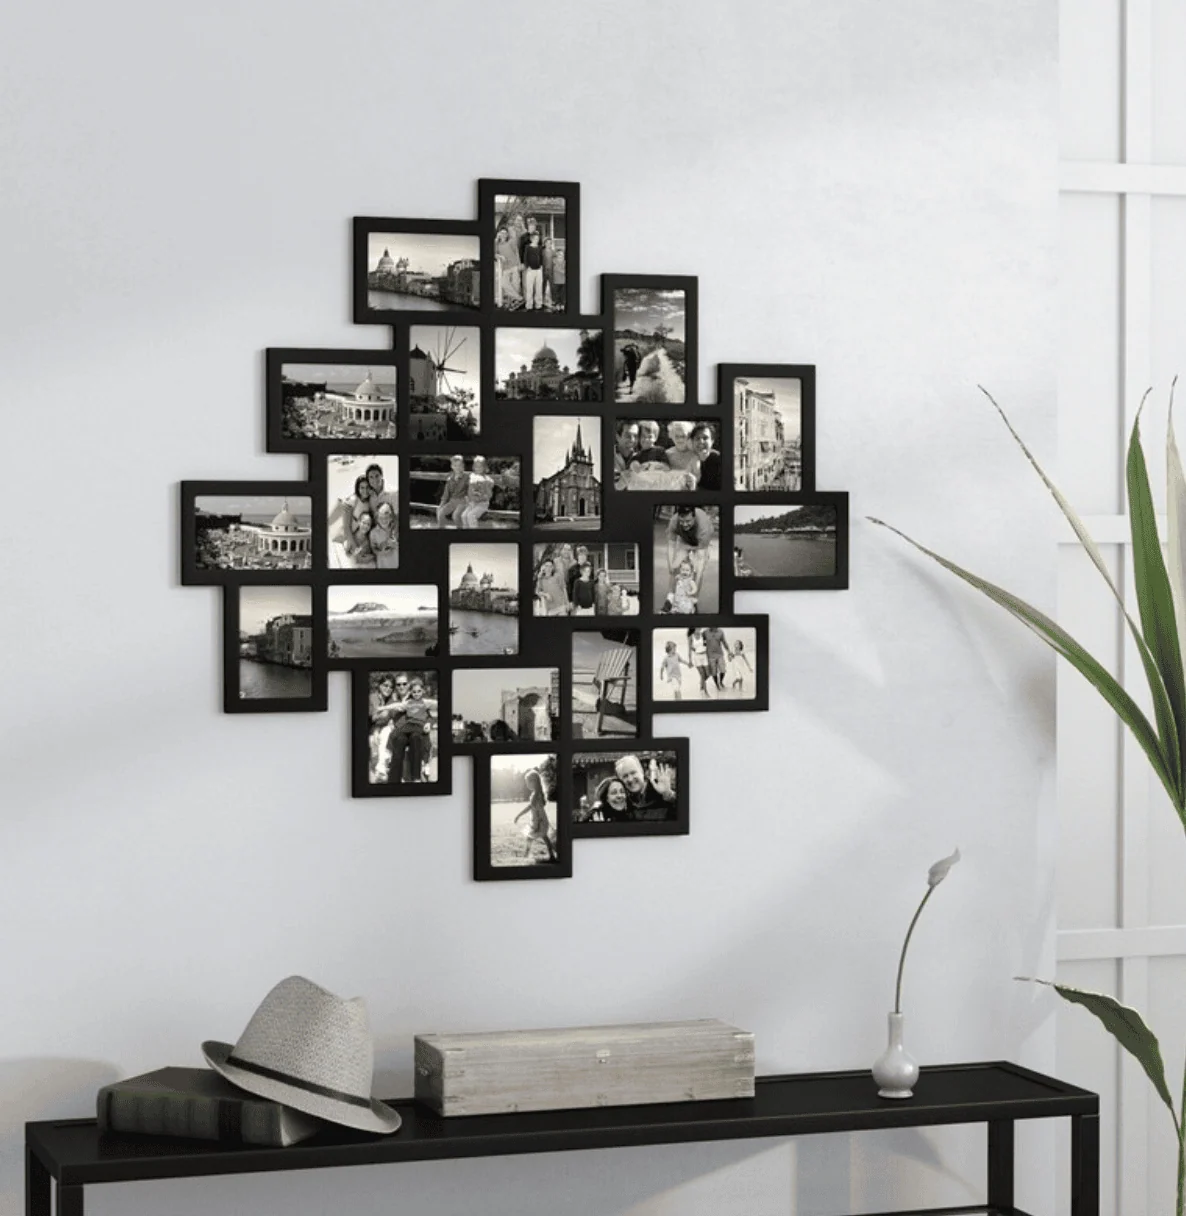
Transform your walls into a captivating display of cherished memories with a vintage photo frame collage. Here’s how to create a heartwarming and unique showcase:
Step 1: Gather Your Materials
- Vintage Frames: Visit thrift stores to find frames with ornate carvings, distressed wood, or unique shapes. Mix and match different styles, sizes, and orientations.
- Photos: Select a variety of vacation snapshots, family portraits, Polaroids, and handwritten notes.
- Decorative Elements: Gather buttons, ribbons, vintage postcards, and other small items to add personal touches.
Step 2: Prepare Your Frames
1/ Clean and Restore: Clean the frames and make any necessary repairs. A little polish or paint touch-up can revive them.
2/ Remove Old Photos: Remove any old photos or artwork from the frames to prepare them for your pictures.
Step 3: Arrange Your Photos
1/ Choose Your Layout: Lay out your frames on the floor or a large table. Experiment with different arrangements until you find one you like.
2/ Mix Sizes and Shapes: Play with different frame sizes and orientations to create visual interest.
3/ Add Depth: Layer some frames on top of others for a dynamic look.
Step 4: Add Personal Touches
1/ Decorate Frames: Attach buttons, ribbons, or small decorative elements to the frames.
2/ Incorporate Postcards: Include vintage postcards or other sentimental items within the collage.
Step 5: Hang Your Collage
1/ Plan Placement: Use painter’s tape to outline the arrangement on your wall. This helps visualise the final look.
2/ Start Hanging: Begin with the central frame and work outward, maintaining your planned layout.
3/ Use Sturdy Hooks: Ensure your frames are securely hung using appropriate hooks or nails.
Step 6: Enjoy Your Unique Display
Stand back and admire your new collage. It’s more than just wall art; it’s a sentimental treasure that showcases your life’s special moments.
With these simple steps, you can create a vintage photo frame collage that not only adds charm to your home but also tells the story of your journey, filled with laughter, love, and cherished experiences.
Let Your Creativity Shine!
These DIY projects are just the beginning of your creative journey! Let them inspire you to transform your space. Don’t be afraid to add your own spin – swap materials, unleash your inner artist, and make them uniquely yours. DIY is all about expressing yourself, and your home should be a reflection of the wonderful, one-of-a-kind person you are.
So grab your favourite crafting supplies, crank up the music, and get ready to create something beautiful for your own little haven. There’s immense satisfaction in creating something functional and beautiful with your own hands. Happy decorating, and enjoy turning your space into a haven that speaks volumes about your unique story!
Click the link below for more content like this!
Malaysia’s Creative Macrame Makers
